Bare Bones Simulator Build Guide - $1,000
...just a taste
If you're reading this, there's a good chance you only need a launch monitor. You might already have a mat and a net. You might already have an iPad. You definitely already have a phone. Let's talk about the basics to start playing sim golf in your garage.
Launch Monitor: $500-$700
The core of any garage golf simulator setup is a launch monitor. This is the piece that tracks your ball trajectory, speed and spin to show you a simulated shot on screen.
Most entry level launch monitors have mobile apps so you can use them with just your phone or tablet, and most of them come with their own sim software, making it really easy to get started with no additional software, hardware or 3rd party subscriptions.
Some, but not all of the things I'll talk about here have affiliate links to help support the site.
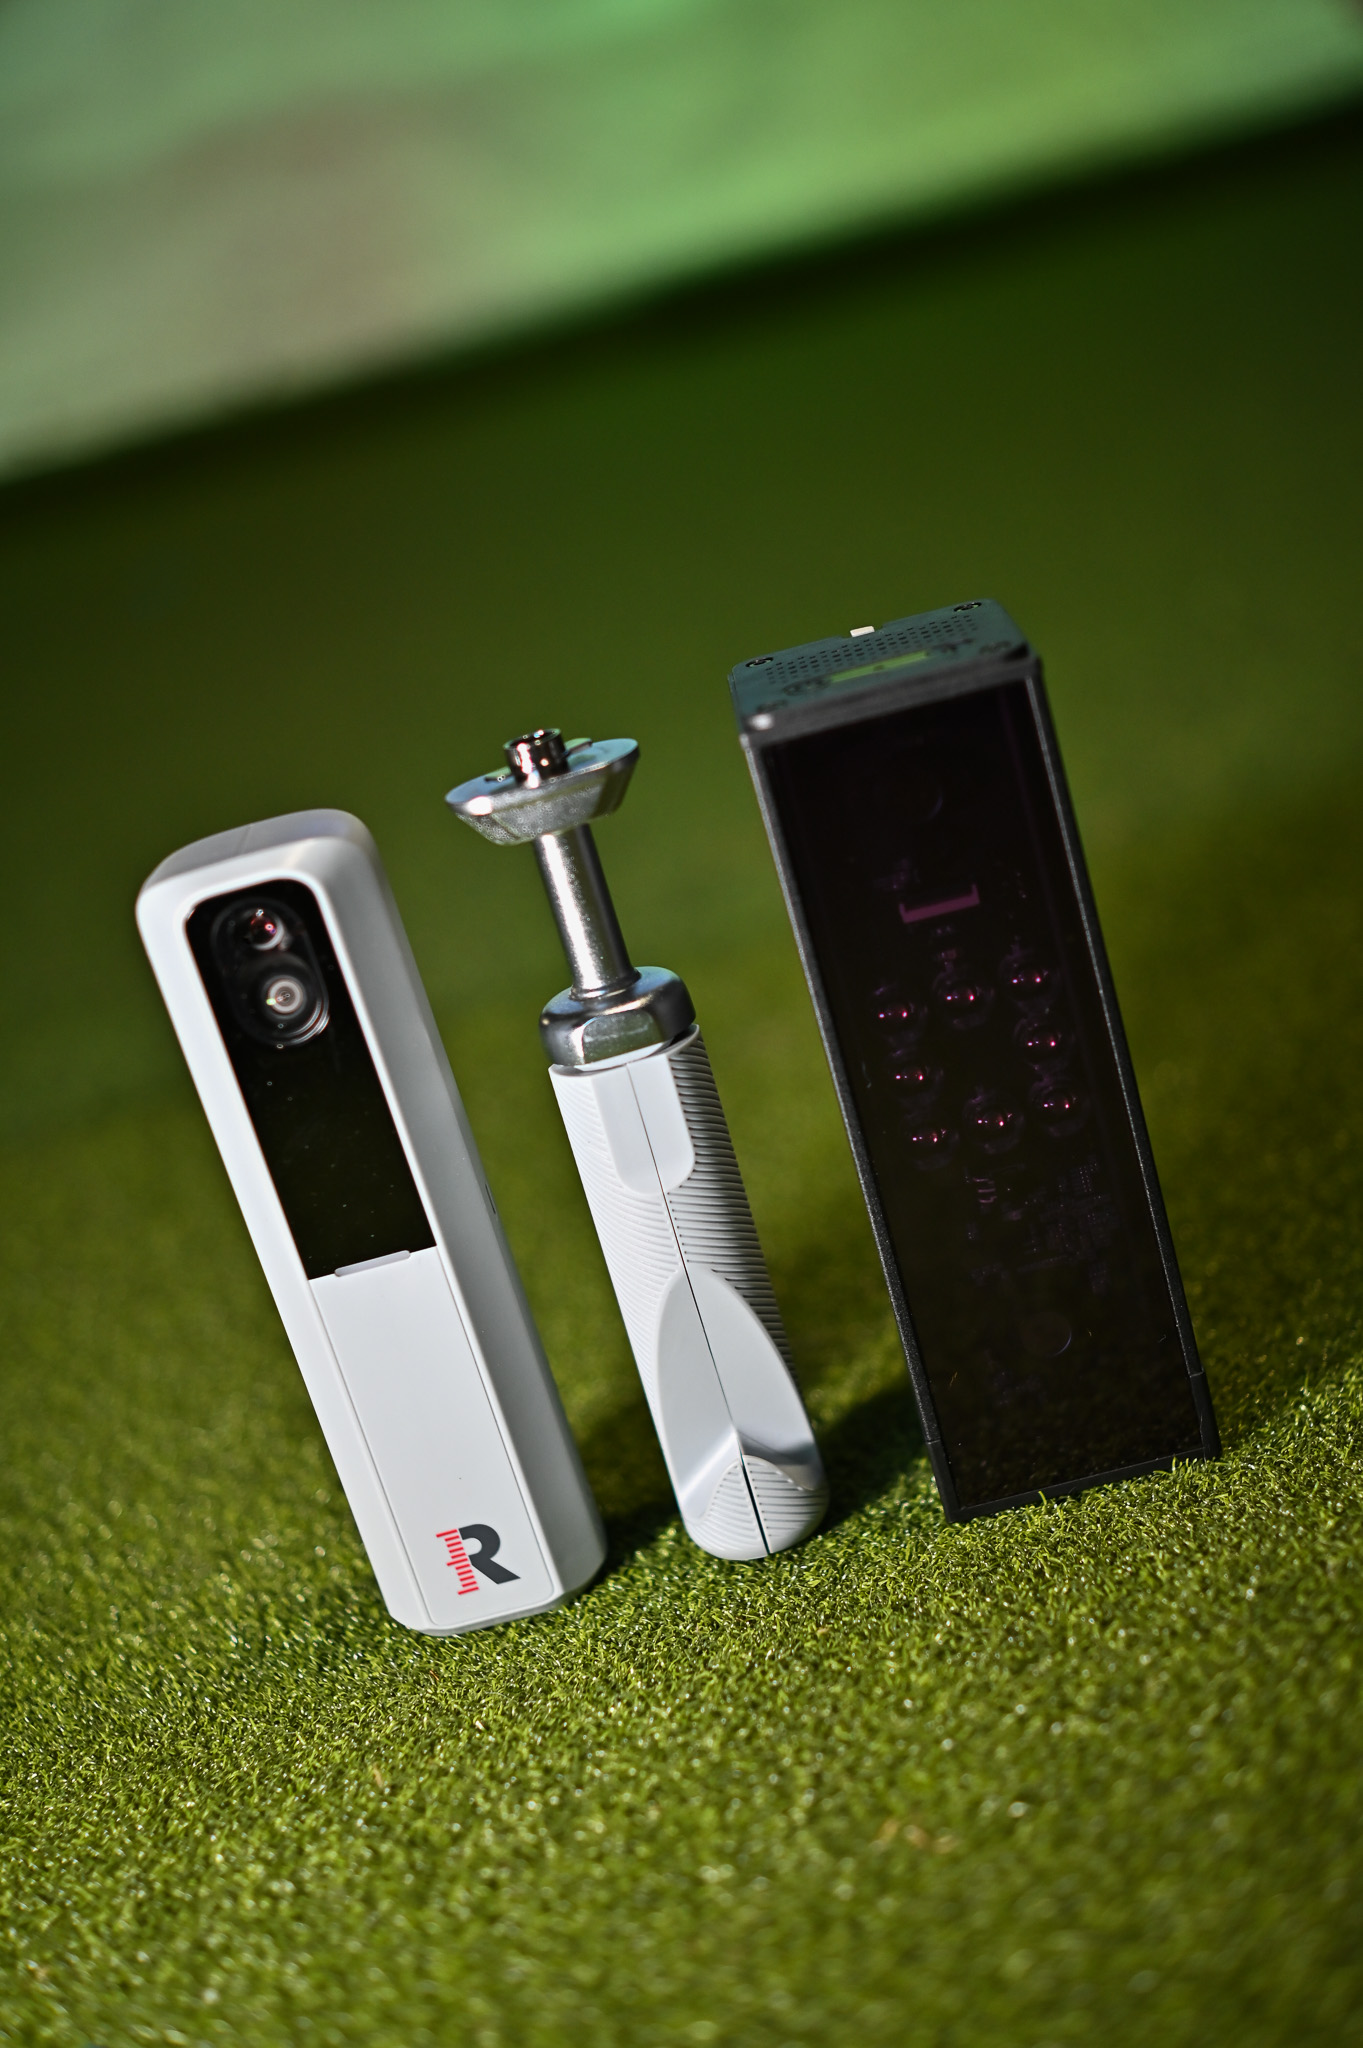
The Rapsodo MLM2 Pro ($700), Garmin R10 ($550), and Square Golf launch monitor ($700) are all sub-$700 units. I have the Rapsodo and Square Golf monitor and will speak to both of these but the Garmin is another budget option that still gets good reviews despite being a little long in the tooth.
Check out my thoughts on both of these launch monitors on YouTube:
Space Constraints:
You’ll need 16 feet of space length-wise to use the Rapsodo or Garmin as these sit 6-8 feet behind the ball, and require 8 feet of ball flight before hitting the net or screen. The Square Golf launch monitor uses different tech and sits next to the ball, requiring no additional space behind the hitting area, and has no distance requirements for ball flight to capture data.
Righties only or mixed with Lefties?
The radar units that sit behind the hitting area (Rapsodo, Garmin R10) are best if you’re playing with righties and lefties because they just sit directly behind the ball, and it doesn’t matter which side of the ball the player is on. Photometric units (Square Golf launch monitor) sit just outside the ball from your hitting position and you’d have to move the unit to accommodate different-handed players.
Wanna putt?
If you want to putt, the Square Golf launch monitor is your choice. It has great, accurate putting capabilities built in. The Rapsodo and Garmin R10 don’t track puts (and sometimes struggle with very light chips).
Other Considerations
I'm working on a more detailed copmarison between the Rapsodo and the Square launch monitors as these are two of the most popular sub-$1,000 monitors out there, but in the meantime you can find tons of videos comparing these two on Youtube.
Mat: $125-$500
For me, the hitting mat is the next most important thing.
I tried to start out repurposing a cheap $60 Amazon special that I had in the backyard, but putting that on concrete was a nightmare for swinging irons. Most of those cheap mats have a base EVA foam layer and a really thin turf layer. While that foam is better than nothing, it’s pretty hard and your irons just rebound off it. It feels like hitting a firm, relatively thin mat on concrete. Which it is.
How is a Good Mat Better?
I started looking at more premium mats from the Country Club Elite to Carl’s Place HotShot to SIGPRO units. Most of these had a thicker layer of turf, and that thick layer of turf really dampens your club impact in a way a foam slab with a green dusting on top can’t touch.
Imagine putting a yoga mat on a concrete floor then hitting down on that concrete with one of your irons. The edge of that iron is gonna impact pretty hard. Now imagine a thick plush layer of spongy goodness on top of that, with a semi-rigid backing layer just under the turf to distribute the impact across the foam. That’s how the more premium mats work and they feel so much better.
You Can Get Premium Feel Without Premium Price
You can spend $600+ and get some into some great options, but that’s a lot of money and those setups are pretty bulky and heavy. For $150 though, you can get pretty close, and you get a more portable setup. You can order Matzilla mats on eBay or direct from USA Turf Pros, and I compare each of these in my video above.
You might also want to put some foam underlayment under your Matzilla mat. You could go with something like interlocking foam tiles if you're OK breaking those down or if you wanted to do something like glue them to the mat, making the mat a more permanent piece. Alternatively, you could try a simple rolled up foam mat like this one. I use that rolled up foam mat because it stows away easily and, while it's not very thick, it still adds noticable cushion under the mat. The dense turf and stiff backing help distribute the force of the club across the foam mat more than I expected.
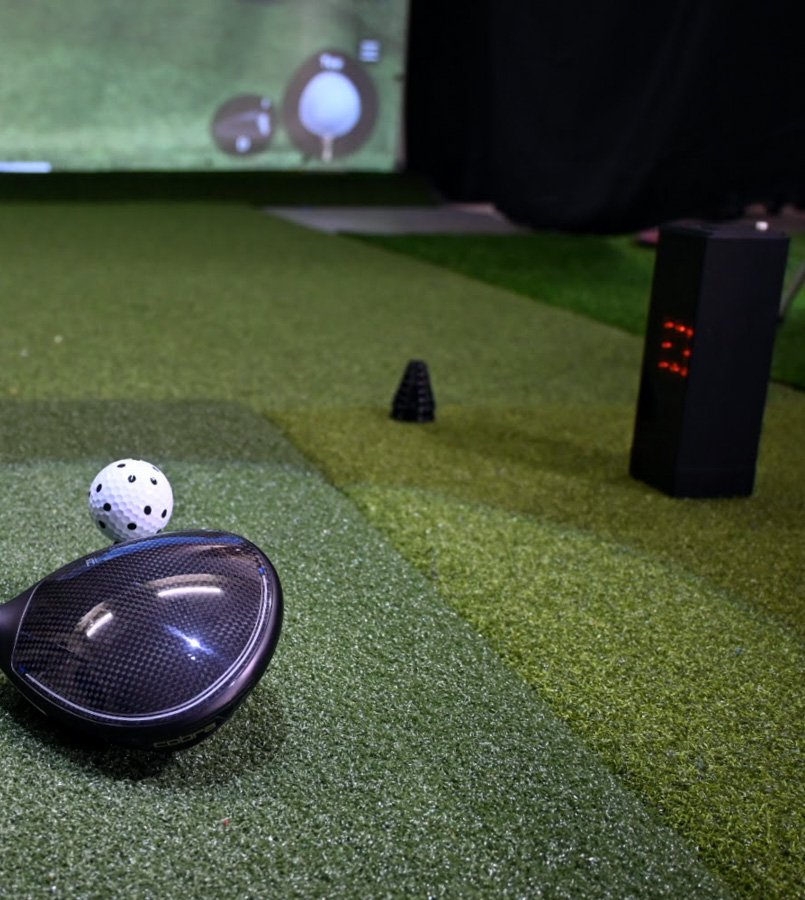
Hitting Net: $75-$400
At this build level, we’re not looking at a projector so we don’t need an impact screen, a simple net will do.
You have a few choices here and this part depends on whether you think you want to build in room to grow. You could go with a standard golf hitting net or you could go with an impact screen, in hopes of picking up a projector down the road.
Almost any hitting net will do in your garage, and the design you pick may come down to space constraints or how easily you need breakdown / storage to be.
I use this IZZO Beast Titan hitting net in my backyard, and used it for a time in my garage as well. It's a steal at $100, and it's larger than many hitting nets in this price range.
You can get a cheap impact screen for even less than that, but you'll need to think about how you mount the impact screen. Depending on your mounting plan the impact screen could be an easy and cheap option. I used a cable kit to hang my impact screen in a way that lets me easily slide it out of the way like a curtain when I need the garage space. I'll have a video and walk-through on that setup soon.
You could spend more on a nicer net -- these GoSports nets for $400 are a nice step up.
In all cases, you'll probably want some additional netting to protect windows or doors from shanks. I picked up two packs of this 10x10 golf netting for my garage for 30 bucks a pop.